
Fabrication Manual
Opaly® Quartz Stone – Basic Fabrication Guidelines:
Safety accessories must be used:
- Respiratory dust masks
- Ear plugs, safety glasses
- Steel toe rubber boots
- Waterproof aprons
- Gloves
- All electrical applications out lets must be ground fault interrupters (GFCI)
- Keep work area clean. Cluttered areas and benches invite accidents
- Visitors should be kept at a safe distance from the work area.
The following guidelines should be followed to ensure a high quality product:
- Before fabricating, always visually inspect slabs to ensure that an acceptable color match is achieved.
- Do not change the original surface finish of the slabs by re-polishing, honing, sealing, or otherwise altering the factory finish.
- Storage – Slabs must be stored in a manner that prevents warping. Support are required Slabs should be stored so that the product is kept in a perfectly uniform manner that minimizes warping
- Slabs must always be stored in a way that the polished surface is not exposed to the sun, and must not exposed too long outside in adverse weather conditions in a long hot summer and cold winter.
Cutting Slabs: To avoid overheating the slab, only water-fed tools must be used for cutting, drilling, and polishing Opaly® Quartz Stone. Water flow should be consistent to ensure adequate cooling of the blade. To ensure a clean and consistent cut, blade rotation speed (rpm) and the traverse speed of the saw must be set up according to the guidelines provided by the blade and saw manufacturer. Do not cut square corners (cross cut) as this will create stress points in the slab and may result in cracking.When cutting an inside corner, always use a core bit to avoid damaging the corner area with the cutting disc, sharp inside corners create a stress point.
Cutouts: For square cut outs for sinks and cooktops proceed preparing cutout always with core bit at four corners. All cuts should be done using only wet diamond cutting tools to avoid generating excessive heat, which could also result in hairline cracks. The larger the radius of the corner cut-outs is the stronger the corner will be. Top and bottom of edge profiles and cutouts are recommended to have a minimum 1/8” radius or chamfer.
Seams: The surfaces to be seamed must be unpolished, flat, dry and clean. All seams should be made level by adjusting the material before adhesive sets.
- Never position a seam over the dishwasher.
- Never position a seam in the middle of a cutout.
- There should be no seams on an overhang of a peninsula or island.
- Notches or grinder grooves along the edge of slab parts or laminated edges to be seamed may be used to enhance adhesion
- Always dry fit your seams, they should fit tightly, be level across and lengthwise of the seam from front to back and across. Shimming may be required at seam area as well as other areas of the countertop in order to level the seam area
- Prepare clamping materials, quality vacuum seam clamping systems are recommended to provide a quality seam
- Apply tape to face of Quartz at seam areas on both parts
- Prepare polyester knife grade adhesives. Opaly® recommend that fabricators always follow the individual adhesive manufacturer’s recommendations for the use of their adhesives.
- Mix polyester knife grade adhesive manually to proper color needed for job
- Apply adhesive with putty knife for polyester knife grade adhesive or use manufacturer’s recommendations. Recommend to apply adhesive to both sides of slab/parts
- Apply adhesive the entire length and thickness of the seam area
- Clamping system should be kept in place for a minimum of 30 minutes, until adhesive has hardened completely across the entire seam length, or per manufacturer’s recommendations
- Remove seam clamping system, only after adhesive has fully cured along the entire length of the seam
- Scrape excess adhesive using a razor blade from the seam area per manufacturer’s recommendation. Always take care not to scratch material with razor blade; material is scratch resistant, not scratch proof. Properly clean all seam areas with denatured alcohol
Mitered Edges: Mitered edges should be done at a 45˚ angle to ensure maximum strength. The joint should be clean, flush, and parallel. Please be aware that mitered edges have the greatest area of weakness and are most prone to chipping. Our recommended minimum edge profile is a 1⁄8” bevel or rounded. Ensure that the adhesive is thoroughly distributed throughout the joint for maximum strength.
Laminations / Double Edges: Cut lamination strips from the same slab as the countertop. When laminating, it is important to make sure that the lamination piece is the full length of the top piece and cut at 45˚ on the outside corners. Notches or grinder grooves along the edge and countertop slab to be seamed may be used to enhance adhesion. Proper distribution of adhesive is important to visual quality and strength of seam.
Sink/Cooktop Installation: All under-mount sink cutouts must have the inside edges polished to match the surface. All under-mount sinks should be sealed to the countertop using 100% silicone. Please be sure to use a professional sink-setter or support rail system.When installing the sink and the cooktop, make sure they do not apply pressure on the cutout. Anchors should be installed as per the fixture manufacturer’s recommendations. Do not secure mechanical fasteners (screws, nails, etc.) directly into the material.Twin bowl installations (Top or Under-mount) where the hole is in the countertop require extra care to ensure that there is sufficient material left for strength. Extra support is required to ensure that no cracking occurs.All cast iron sinks (Top or Under-mount) must be supported underneath the cabinet. No anchors should be used to mount to quartz surface under any circumstance.
Installation: The fabricated countertop is to be moved and handled vertically, avoiding twists and collisions. Prior to installation, visually inspect the countertop for any surface imperfections such as scratches, cracks or aesthetic defects. Make sure the substrate is on an even and true plane. If the counter is to rest on cabinets, make sure they are set level and flush, adjusting the leveling feet if necessary. Dry set all the countertops carefully to make sure all seam are perfectly matching and level. Stand the counter top vertically polished surface against the wall, then apply adhesive (100% clear silicone or equivalent) to the substrate or cabinets of all the edges. Carefully then lowering the stone onto the substrate or cabinet.
Opaly® Solid Surface – Basic Fabrication Guidelines:
◆Easy to handle and fabricate
◆Can be cut and joint with carpentry tools and equipment
◆Seamless joint
◆Can be bent into different shapes after heated in oven
◆Can be sand blasted and making inlays in the material
◆Complicated designs can be achieved by mold
-Cutting: can be cut easily with a cutting machine
-Open holes: faucet hole, pipe hole, cut-out for sink and stove can easy be made by a drilling machine or cutting machine.
-Edge profile: Different edge profile can be realized by using different router bits.
-Joint line: Opaly® solid surface can be joint seamless with sink, basin and plash by using the same color of glue.
-Sanding: sanding can be done by sanding machine or portable sanding machine, start with dry sanding to wet sanding.
Use the sanding paper from rough to fine by 120#、180#、320#、400#、600#、1000#、1200#、1400# grit.
-Polishing: After the surface is flat and smooth, buff the face with wool pad and wax, surface will be as bright as a mirror.
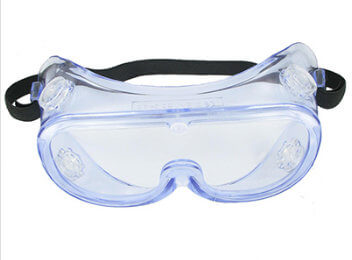
Worker Safety Goggle for Quartz Stone
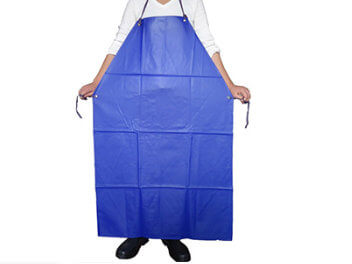
Waterproof Apron for Quartz Stone
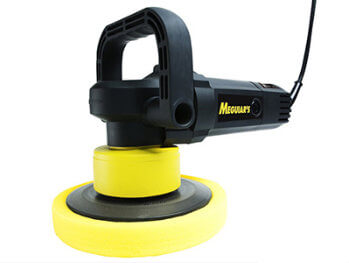
Quartz Stone Polishing Machine
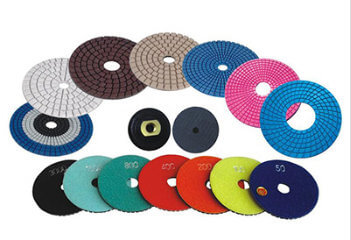
Quartz Stone Polishing Pad
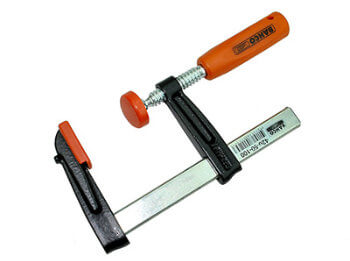
F Clamp for Quartz Stone
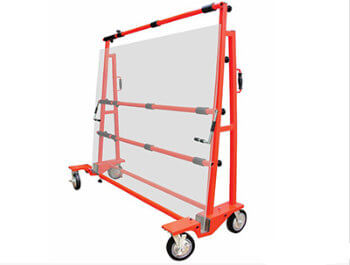
Quartz Stone A-Frame
Solid Surface General Fabrication Tools
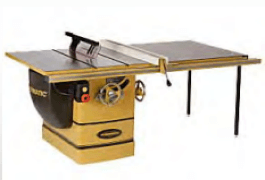
Table Saw
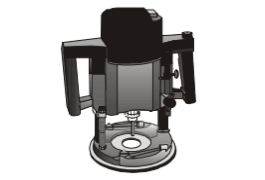
Routers
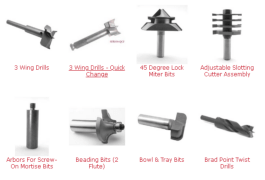
Rounter bits

Sander
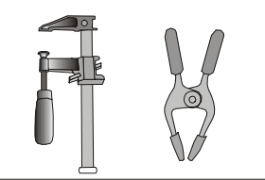
Clamps
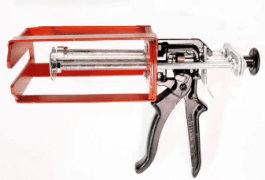
Glue Gun